Perlでジュリア集合を描く(後編)
だいぶ日が空いちゃったけど、それとなくレンダリングしてみた。
元々、Androidアプリのために書いたスクリプトだったけど、
トーンカーブ相当の機能を実現できるので流用してみた。
package ToneCurve;
use v5.14;
use strict;
use warnings;

sub calc_curve {
    my ( $depth_src, $depth_dst, $dx0, $dx1, $dy0, $dy1, $y_max ) = @_;

    die 'dx0 must be zero or positive number.' if ( $dx0 < 0 );
    die 'dx1 must be zero or positive number.' if ( $dx1 < 0 );

    my $p0 = [ 0.0       , 0.0 ];
    my $p1 = [ 0.0 + $dx0, 0.0 + ($dx0 * $dy0) ];
    my $p2 = [ 1.0 - $dx1, $y_max - ($dx1 * $dy1) ];
    my $p3 = [ 1.0       , $y_max ];

    my $rshift = $depth_src - $depth_dst;
    my $x_max = int( 2 ** $depth_src ) - 1;

    my $n = int( 2 ** $depth_src ); # 目安は出力する数くらい
    my @dst = ();
    my $x = 0;
    for (my $i=1; $i<=$n; $i++) {
        my $t = $i / $n;
        my $xi = $p0->[0] * ((1 - $t) ** 3)
               + $p1->[0] * 3 * $t * ((1 - $t) ** 2)
               + $p2->[0] * 3 * ($t ** 2) * (1 - $t)
               + $p3->[0] * ($t ** 3);
        $xi = int( $xi * $x_max );

        if ( $x <= $xi ) {
            my $yi = $p0->[1] * ((1 - $t) ** 3)
                   + $p1->[1] * 3 * $t * ((1 - $t) ** 2)
                   + $p2->[1] * 3 * ($t ** 2) * (1 - $t)
                   + $p3->[1] * ($t ** 3);
            $yi = int( $yi * $x_max );

            $yi = ( $yi < 0 ) ? 0 : (($x_max < $yi) ? $x_max : $yi);
            my $y = $yi >> $rshift;
            for (; $x<=$xi; $x++) {
                push @dst, $y;
            }
        }
    }

    return \@dst;
}

package main;
use v5.14;
use strict;
use warnings;
use List::Util qw/max/;

use Imager;
use Time::HiRes qw/time/;

use constant DEPTH_SRC => 10;
use constant DEPTH_DST => 8;

if ( scalar(@ARGV) != 1 ) {
    say "Usage: perl $0 [dat file]";
    exit 0;
}

my $src_file = $ARGV[0];
my ( $width, $height ) = $src_file =~ /_(\d+)_(\d+)\.dat/;

say "w: " . $width;
say "h: " . $height;

my @pixels = ();
open( my $fh, '<', $src_file ) or die "cannot open $src_file : $!";
binmode( $fh );
for ( 1..$height ) {
    my $buf;
    my $result = read( $fh, $buf, ($width * 2) );
    if ( $result != ($width * 2) ) {
        close( $fh );
        die "read faild!";
    }

    my @tmp = unpack( 's*', $buf );
    push @pixels, \@tmp;
}
close( $fh );

my $val_max = max( map { max @{$_}; } @pixels );

my $src_max = (2 ** DEPTH_SRC) - 1;
my $dst_max = (2 ** DEPTH_DST) - 1;
my $curve = ToneCurve::calc_curve(
    DEPTH_SRC, DEPTH_DST, 0.4, 0.9, 0.0, 0.0, 1.0 );

my $img = Imager->new(
    xsize => $width, ysize => $height );
$img->box( filled => 1, color => 'black' );

local $| = 1;
my $start = time();
printf( "%4d/%4d", 1, $height );
for (my $iy=0; $iy<$height; $iy++) {

    my @rgba = map {
        my $tmp = int( ($_ / $val_max) * $src_max );
        my $v = ( $src_max < $tmp ) ? $curve->[-1] : $curve->[$tmp];
        ( $v, $v, $v, 255 );
    } @{$pixels[$iy]};

    $img->setscanline( y => $iy, pixels => pack('C*', @rgba) );
    printf( "\r%4d/%4d", $iy + 1, $height );
}
printf( "\rcomplete! %.2fsec\n", (time() - $start) );

my $dst_file = ($src_file =~ s/\.dat//r) . '.png';
$img->write( file => $dst_file ) or die $img->errstr;
実行方法はこんな感じ。
$ perl aaa.pl hoge.dat
まず、Bスプライン曲線を利用してトーンカーブを生成する。
次に、0.0から1.0に正規化したデータを、
トーンカーブに従って0〜255に変換している。
本当はデータに合わせてトーンカーブを設定する必要があるけど、
とりあえず、この設定を使い回しても、それっぽくレンダリングされる。
前回のデータをレンダリングするとこんな感じ。
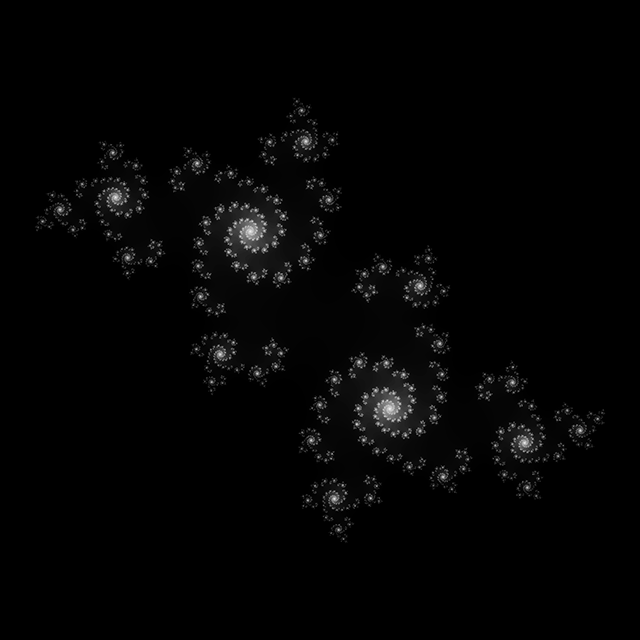
おしまい。
Leave a Comment